Remember those images from the early days of 2D photography?
It was quite an experience, with lots of solemn posing, serious faces and moustaches, and some flash powder!
Well, welcome to the early days of 3D photography. With less frowning and flash powder, though the moustache has definitely made a comeback.
1. Get scanned
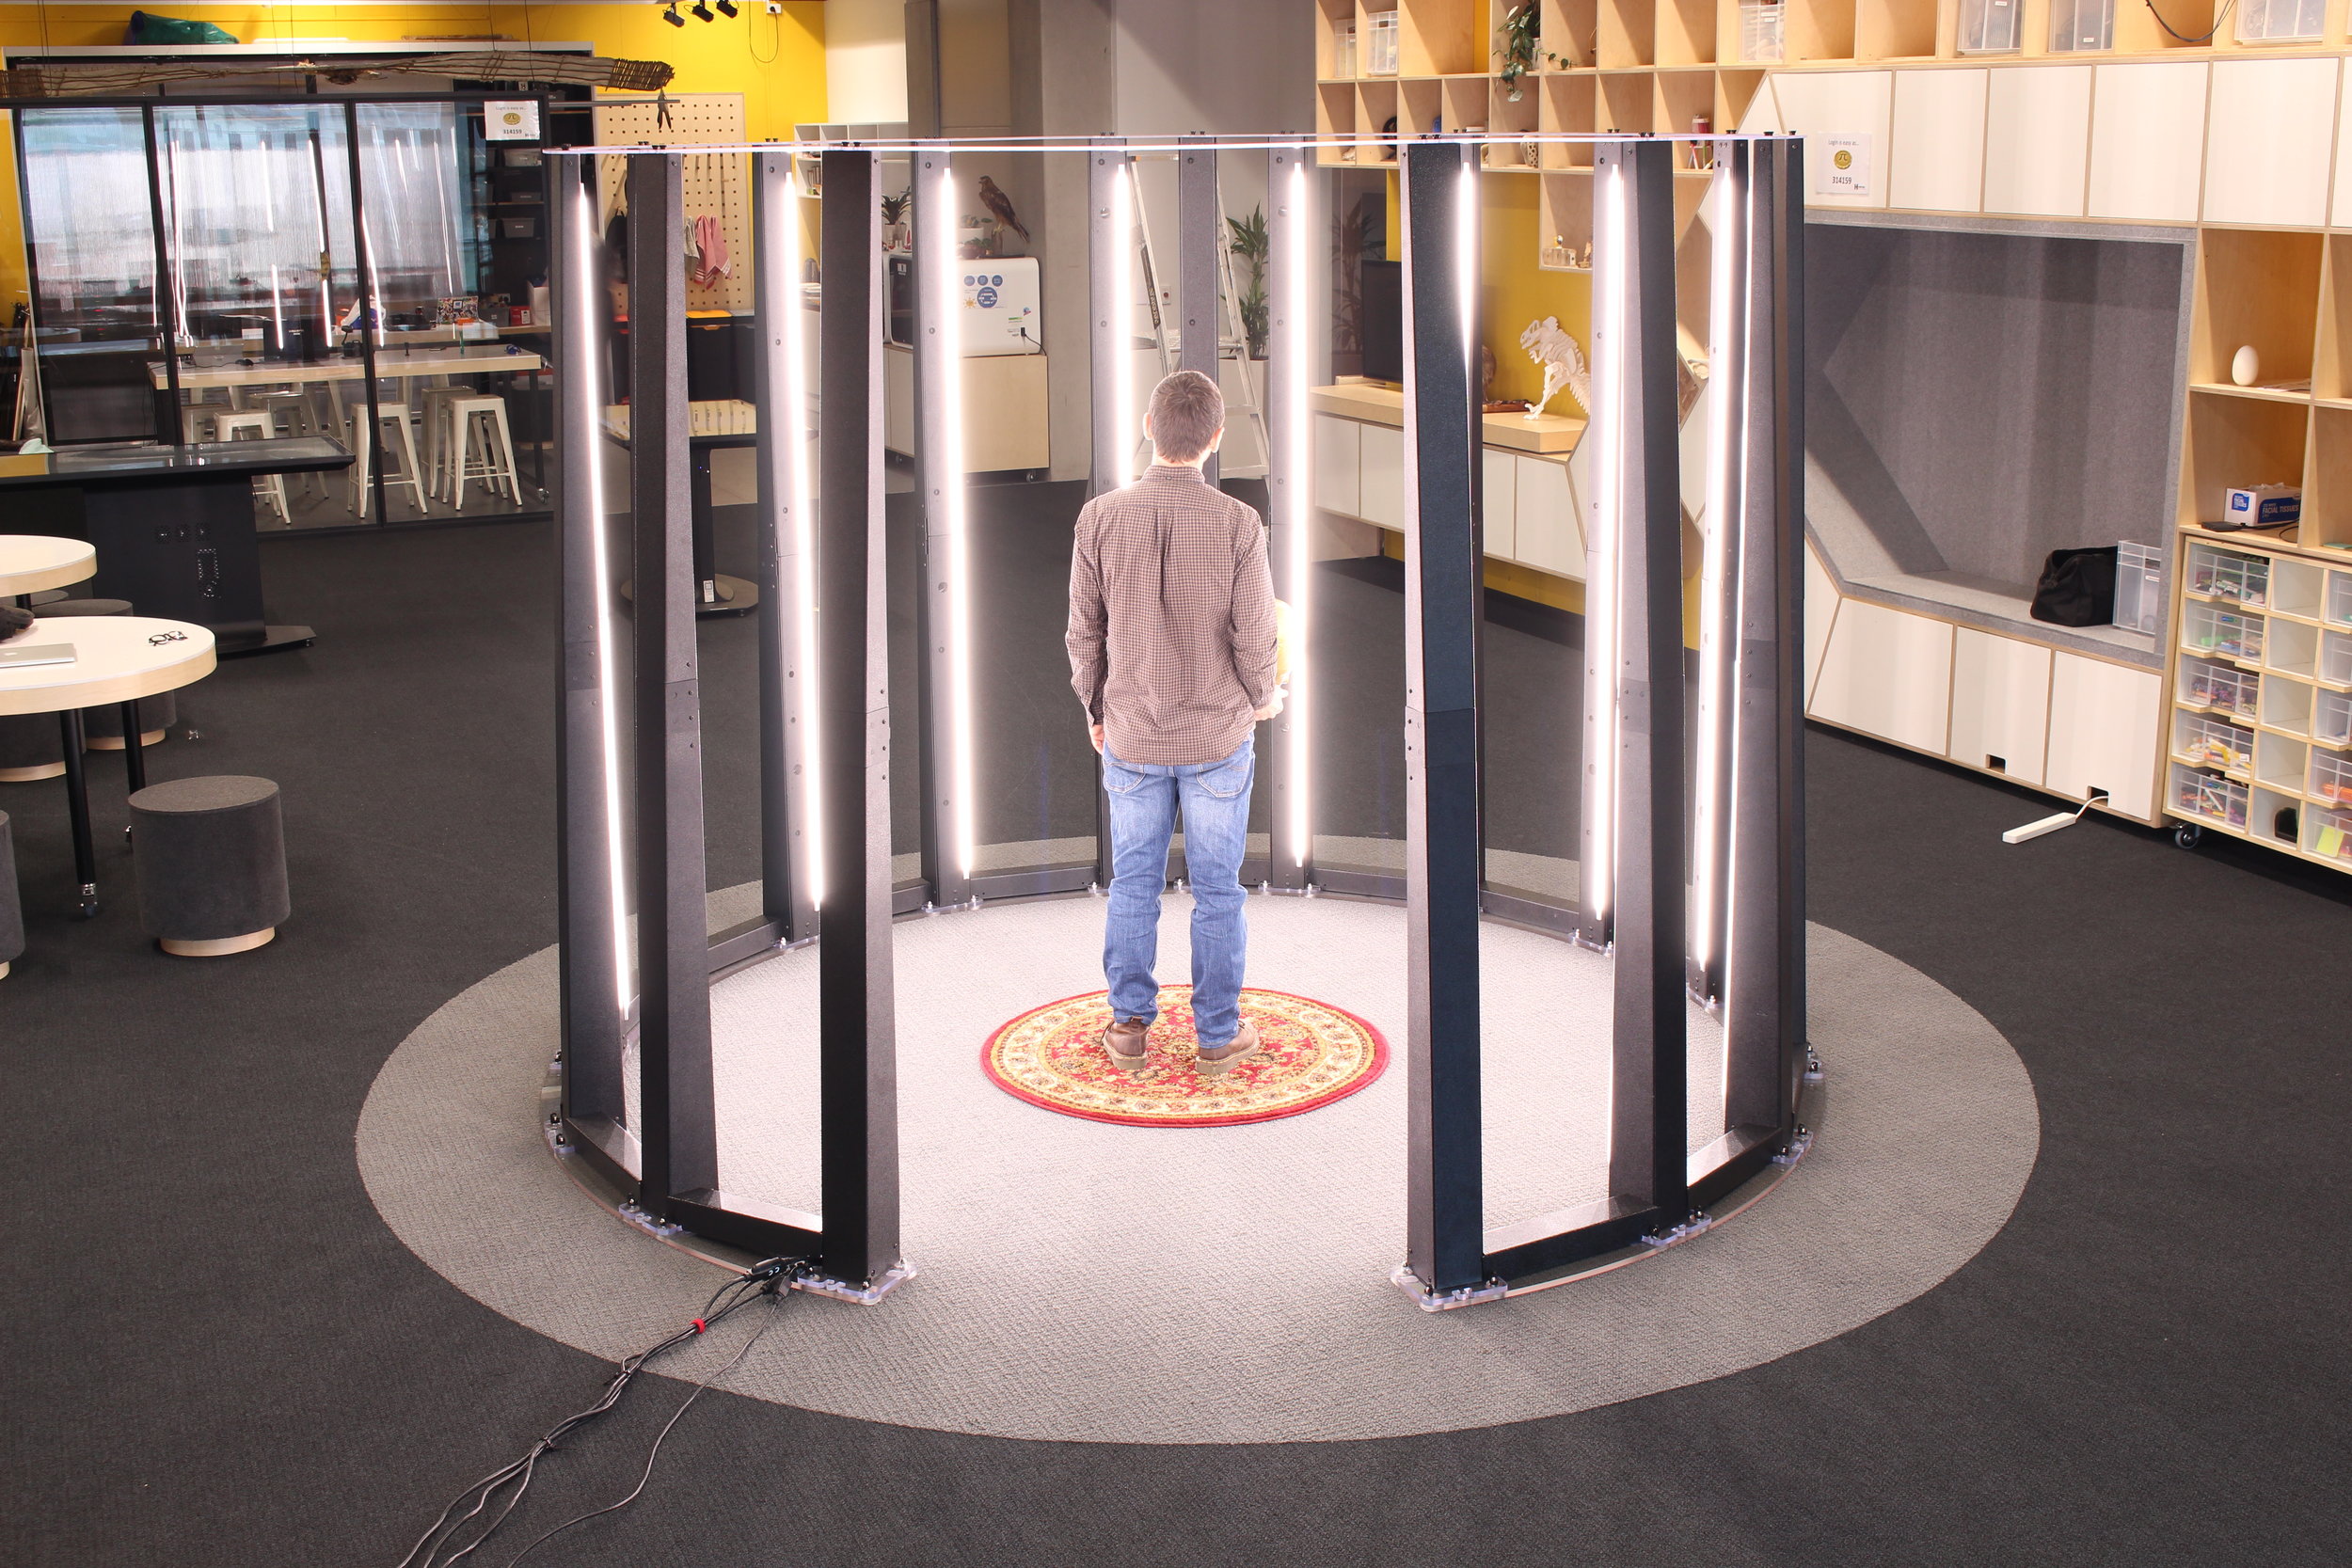
The subject(s), up to four of them, gather in the scanning booth, and 89 cameras and 25 pattern projectors take a snapshot in 1/4 of a second.
Usually we will take a few different scans in different poses to try out what works best for you. Have fun with it, and we know what works!
Scanning done.
2. View the results in 2D
After the scan a preliminary view of the shots is available. The subject can review and select which poses they like the best from the selection of shots taken.
These scans are submitted for preliminary processing.
3. View your preliminary scan in 3D
In a few minutes a preliminary scan in a GIF file format is available for you. Depending on the event you might receive this by email, or to your phone, after your scan, or if in the studio you might wait for it at the time.
This scan is not in high definition (it only uses 0.4 megapixel images from the scan), but is a useful draft intended to give you a good sense of your all-around scan, your pose and confirm that you like it enough to order a 3D print for posterity!
(Don't worry if you don't, the GIF file is still yours to save and share. Though be warned it won't be perfect. There will be fuzzy bits, distortions and crazy bumps, that get eliminated on final HD processing).
4. Ordering a 3D print
If you like your GIF, then send us an email with your contact details and the size of 3D print you would like, and any options you have selected.
We will need your address to know where to ship. And payment of course, which we take by phone at this stage.
5. Building your 3D model
This is the fun part if you are that way inclined, or it is the black box if you are not... Essentially, all the photos taken in the booth are knitted together to form one 3D digital model of you. The 89 cameras took 2 photos each (one with the LEDS lights on, and one with the pattern projectors casting a pattern on you). It is these 178 pictures that are used to remake you in 3D!
This time using 1.2megapixel images to build a model with 800,000 faces and an 8K texture.
6. 3D artist touch up
Every scan is a work of art! While we get close to perfect, our cameras don't always catch everything. Sometimes little spaces between arms and legs, or crazy hair, need to be adjusted and "photoshopped". No, we won't do a total makeover, but we do want to render a 3D version of you that is accurate and lifelike.
The artist will also optimise the model for printing, making sure it will print properly.
7. Printing in 3D
The digital file is sent for printing. Currently, the state of the art full colour printing is by a process called binder jetting on a ProJet 660. A gypsum powder is layered on a print plate, coloured and bound to the surrounding powder.
The process can take up to 12 hours for larger figures, and multiple figures may be printed on the same plate depending on size.
After printing the model is removed from the plate, cleaned and prepared.
8. Shipping
Your 3D print is shipped. First by the printer to Ditto, and then once checked, from Ditto to you.
All shipping costs are included in the price of your 3D print.
Your 3D print is delicate, so please take care. Some guidelines for its care are included below.
Let the amazement begin!


